Format Apple Music for Playback in Kia UVO Vehicle Entertainment System
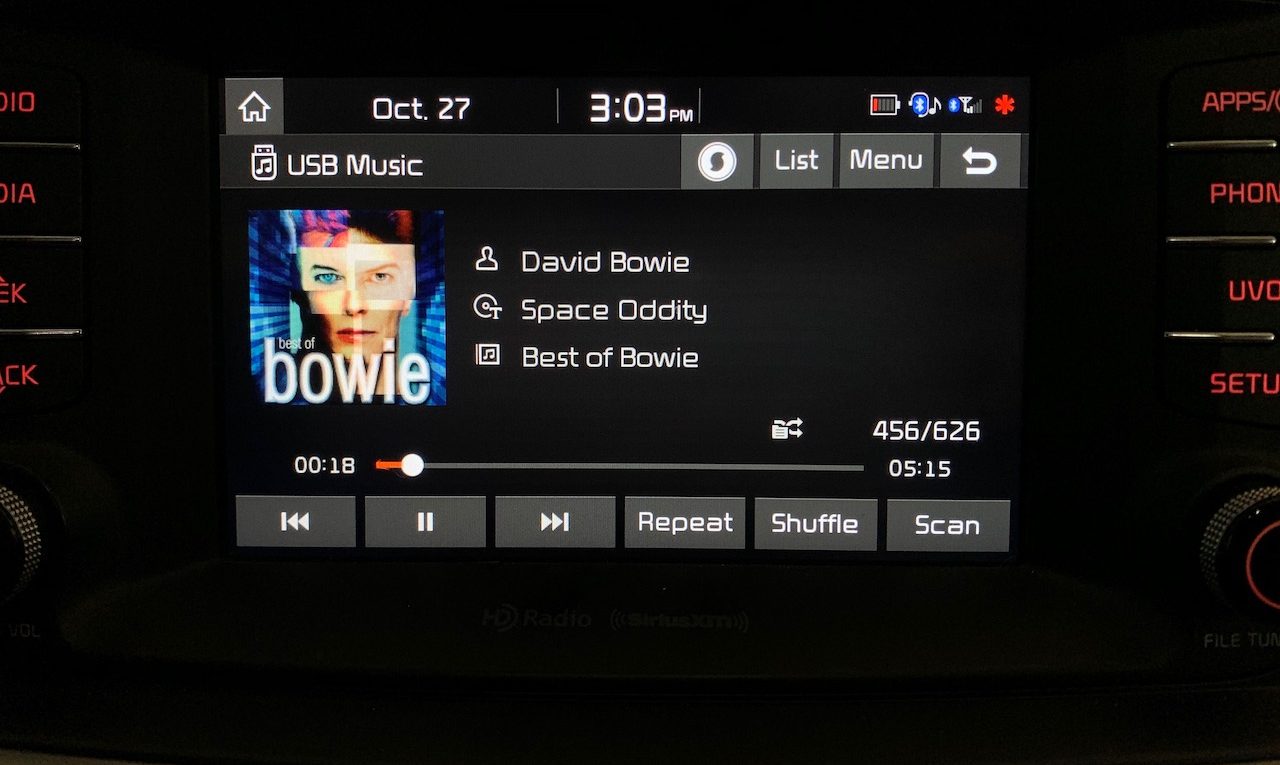
The Kia UVO entertainment system supports playback of music stored on a USB flash drive plugged into the USB port in the main console. The drive must be formatted as FAT or FAT32 (some people report issues with FAT32 but EXFAT was OK for them) and the music must be formatted in one of a couple of formats, including MP3, AAC or FLAC. I chose FLAC because it is lossless, however my music files were already ripped in Apple lossless (ALAC) format and stored as .m4a files, so the files had to be converted from Apple lossless to FLAC.
A simple way to convert the files in bulk to FLAC is by using the XLD media converter. You can also use XLD for ripping your CD’s into your music library since it allows you to pick your favorite music file format and will fetch music meta data from online and add it to the files.
Configure XLD for FLAC
Insert your formatted USB stick drive. Open the XLD preferences, select the General tab:
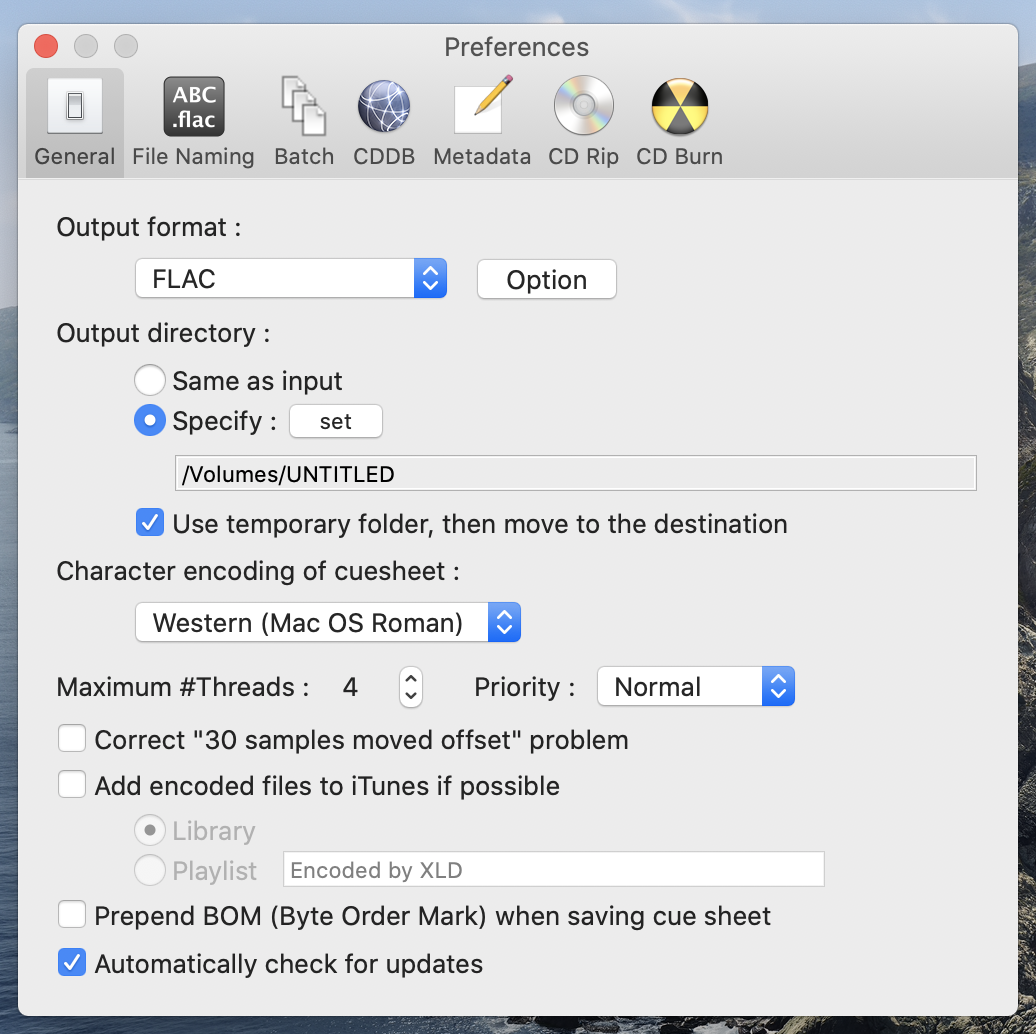
- Set “Output format” to FLAC (or your preferred format)
- Set the “Output directory” to your USB stick
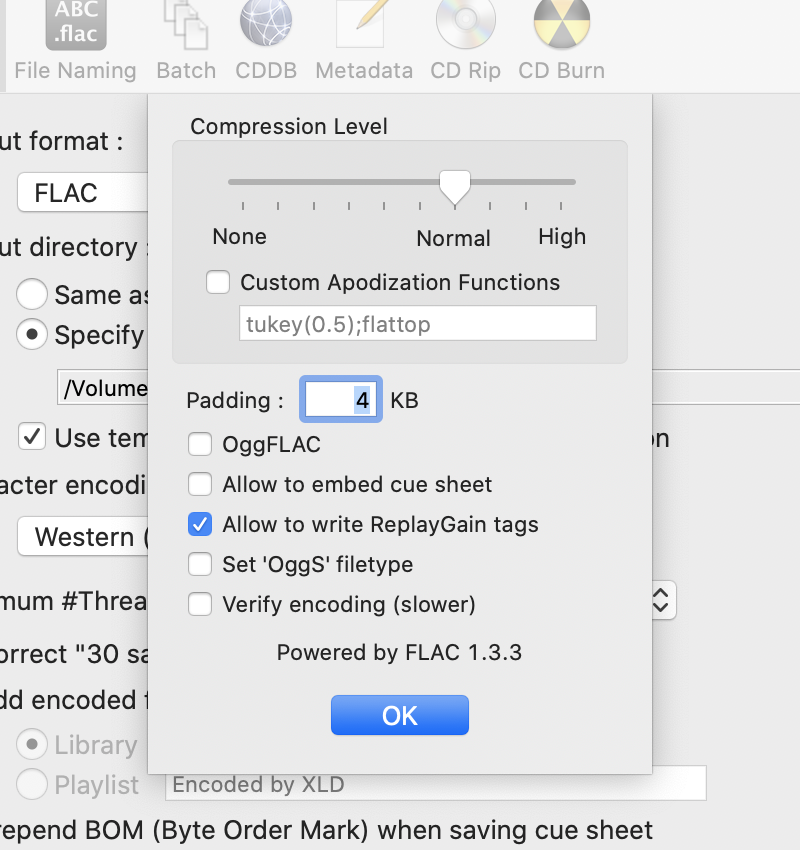
- You can also verify your compression settings – click the “Option” button (next to “FLAC”):
Next select the File Naming tab:
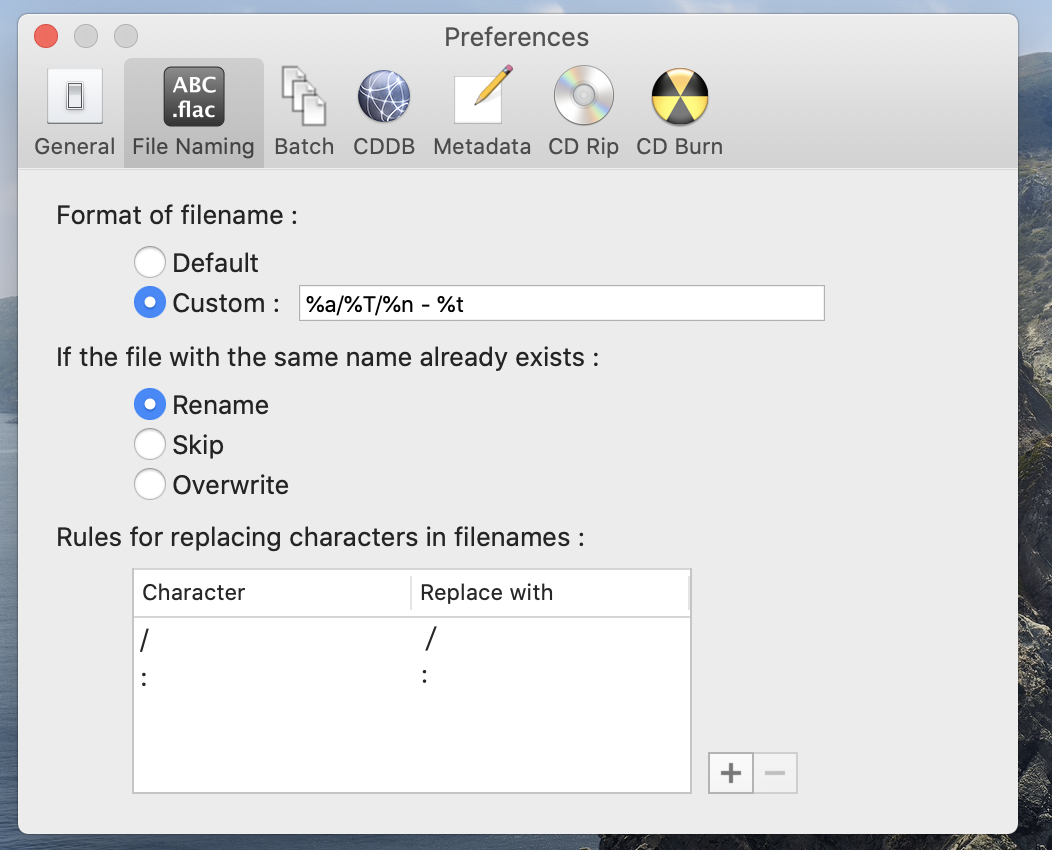
This controls how the converted files are named. I chose a directory hierarchy of /author/album title/track number - track title.
Next choose the Batch tab:
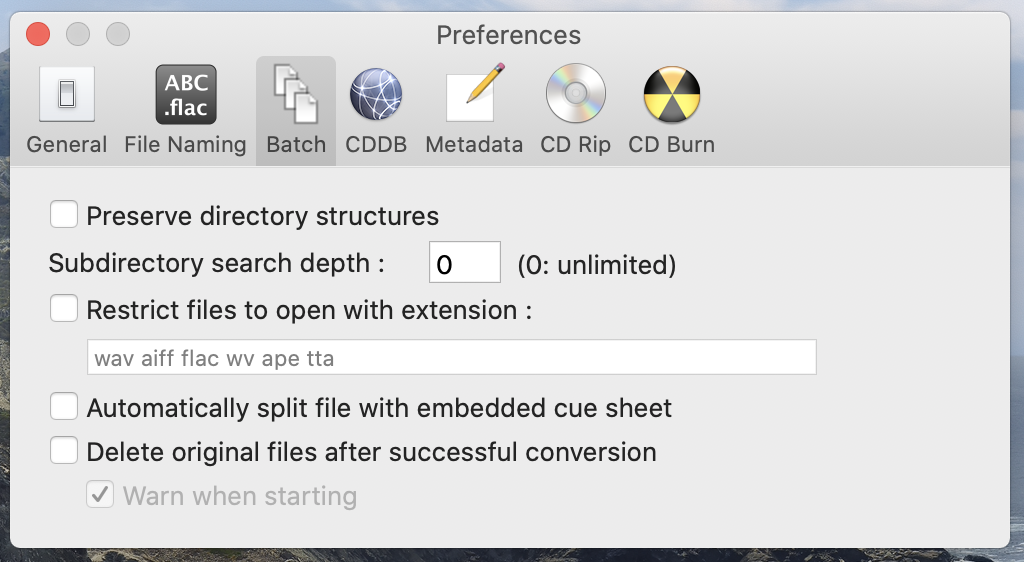
I unchecked the “Preserve directory structures” because I created a new structure based on the artist, album and song title.
I changed the “Subdirectory search depth” to “0” because I am converting music that has been stored in a directory hierarchy in my music library and I want to pick one album at a time.
The Meta tab settings should preserve any meta tags already embedded in the files:
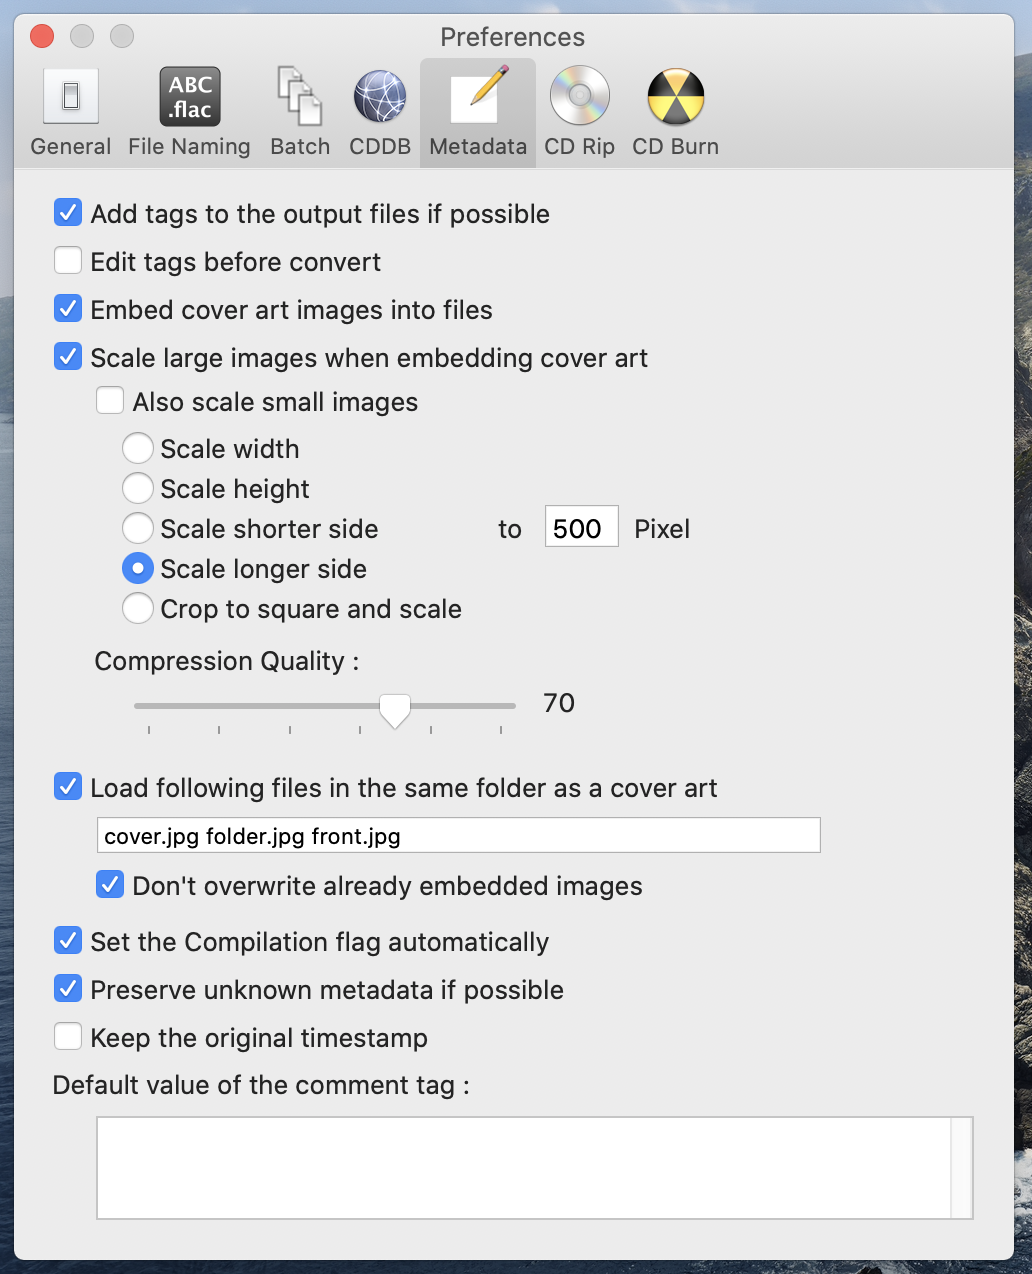
Now you should be ready to convert the files.
Convert Your Music Files
From the XLD File menu, choose “Open Folder As a Disc” and select the directory (or select multiple directories) that contains the music files you want to convert. (Note if you are converting from CD then you would select “Open Audio CD”.)
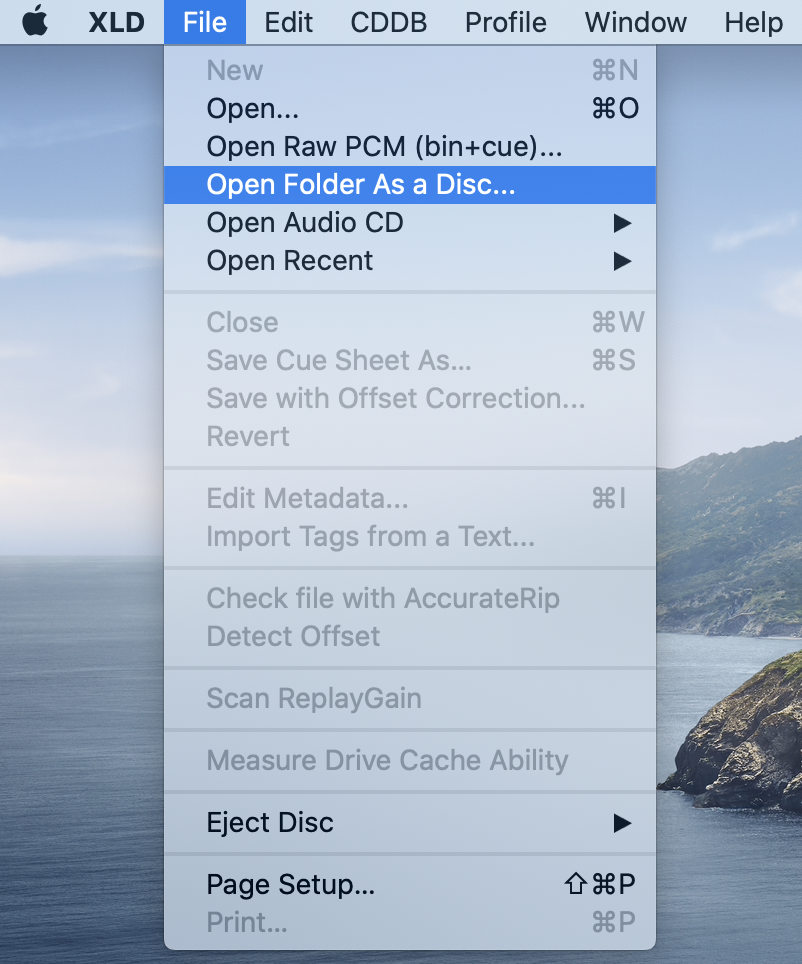
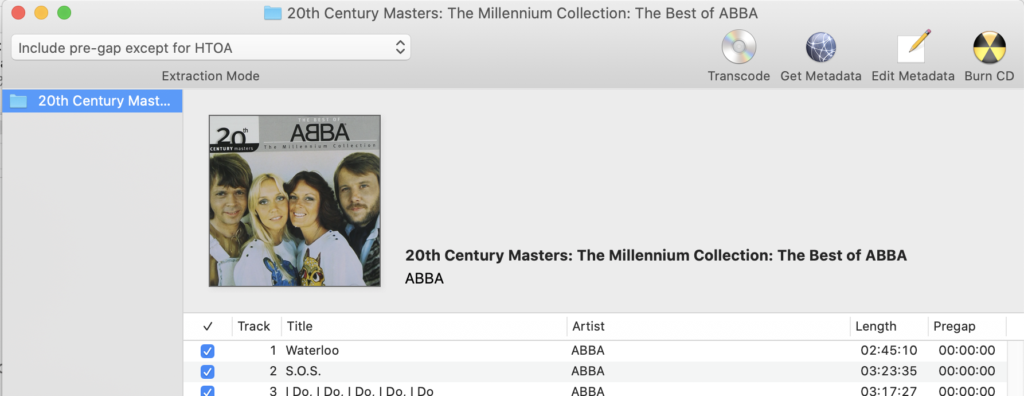
If the program successfully opened the folder, a window will appear with the album name and list of tracks:
Click the Transcode button and a window will appear showing the list of files being converted and their conversion progress. The files should be converted and appear on the USB stick drive as they get converted.
